Inbound Availability
How to set inbound call availability and accept an Inbound call
Understanding the Inbound Availability Status
Your Inbound Availability status is indicated by the headset logo in the Info Bar at the top of Playbooks. The headset will be green when you are available and red with a slash when you are unavailable.
When you log in to Playbooks, you will automatically be set available for inbound calls. You will stay Available until in a call, missing four calls in a row, logging out of Playbooks, or you manually change your status to Unavailable. Inbound calls from a rep queue will be routed to whomever has been available the longest so it’s important to go available again as soon as possible. Calls made to your Direct Inbound Number (DIN) will always be routed to you no matter how long you’ve been marked available.
Changing Your Inbound Availability Status
You can change your availability status by clicking on the headset button in the Info Bar.

To Go Available for Inbound Calls
- Open Playbooks.
- Click the headset button in the Info Bar.
You should set your status to unavailable whenever you plan to be away from your station for an extended period of time such as the end of the day or lunch. Playbooks will mark you as unavailable if you miss four calls in a row, but changing your status before you leave will prevent customers from waiting in the queue unnecessarily.
Receiving an Inbound Call
When an inbound call is routed to you, a pop-up notification will appear alerting you to the call. The notification will display information related to the caller including their name, title, and phone number. If no match is found in your CRM, the record will display Unknown Caller. This allows you to review call info before accepting the call. If the call is being routed to you from a Rep Queue, the name of the Rep Queue name will be listed with the caller’s information.
Known records will give you the option to click OPEN. This will not answer the call but will take you to the record in CRM. If you are unable to answer the call, click DISMISS. If using a mobile phone as your station phone, do not decline the call from your phone. Declining the call on your mobile phone causes the call to route to your voice mail and may cause issues with the agent leg.
If you have desktop notifications setup, you will also receive a desktop notification altering you when you receive an inbound call.
To Enable Desktop Notifications
- Open Playbooks.
- Click the menu button (XANT logo).
- Click Settings.
- Click Preferences.
- Click the Desktop Notifications switch on.
- Click Allow in the Show Notifications pop-up window.
Accepting a Call
Accepting an inbound call is the same an answering any call.
To Accept an Inbound Call
- Review the record info.
- Click OPEN to the to the record.
- Answer the phone or press 1 on your phone.
- Wait for the beep to indicate your Agent Leg is connected.
You may receive an inbound call while already on another call. To leave your current call and answer an incoming call, wrap up your current call and press 1 to answer the inbound call. You will not disposition the first call until you have finished the inbound call, then you will disposition both calls.
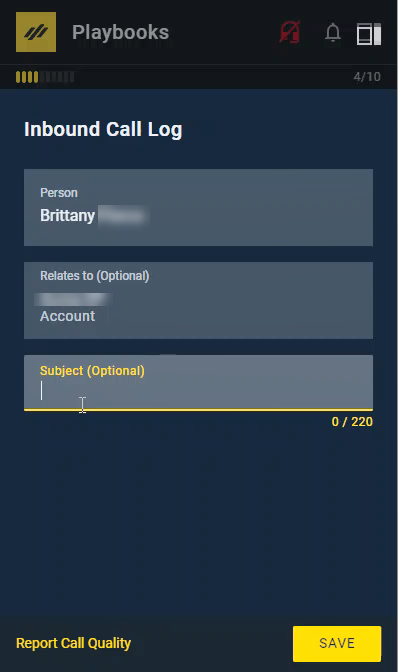
Inbound Call Disposition
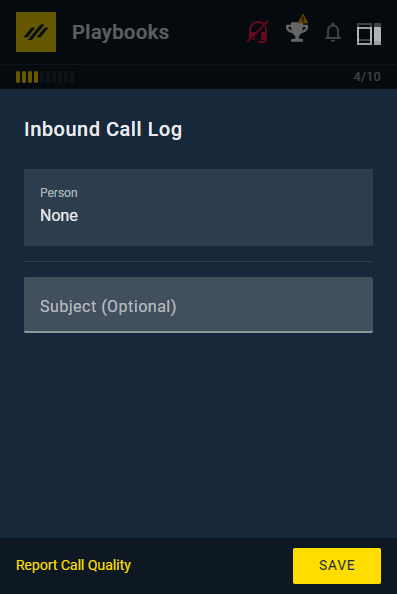
Inbound calls will be logged in your CRM as a task record just like with outbound calls. At the end of each Inbound call, you will need to disposition the call. It’s important to verify that the call is related to the correct record and change the information if it’s wrong. If you need to make changes to this information, simply click in the “Person” box, and begin typing the name you want to relate the call to, then hit enter or click the yellow search icon. You can select the correct person from there.
Sometimes, you will receive a call from an unknown caller. Once you have collected some basic information like their name and company, search your CRM to see if they have a record already. If nothing comes up, you should create a new record right then. Once you have a record made, you’ll be able to tie this call to that new record.
Missed Calls
Sometimes, you miss an inbound call. Being able to quickly reconnect with a prospect after they have reached out to you is crucial to keeping momentum going in a sales motion. Playbooks notifies you of a missed call from the Playbooks notification bell in the Info Bar. Only calls to your DIN will show up in your missed calls. Missed calls from rep queues don’t usually show up in your missed call notifications since the call may have been answered by another rep. If the rep queue has ‘Route to last caller’ element, you may receive a missed call notification if you were the last person to call that customer.
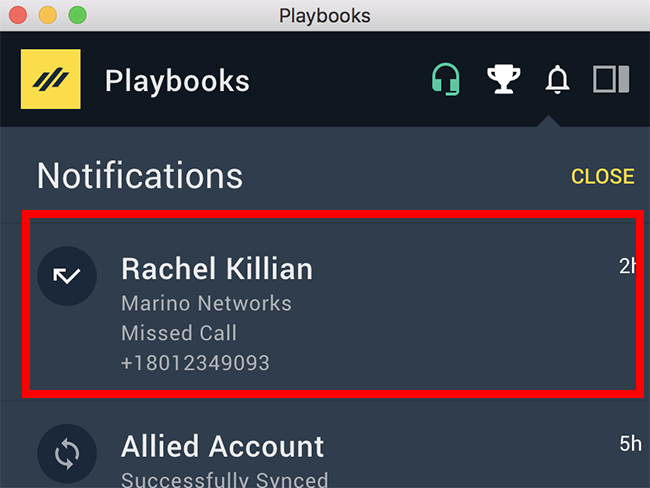
To view previous missed call information, go the Missed Calls page. From there you can easily search for or return a missed call.
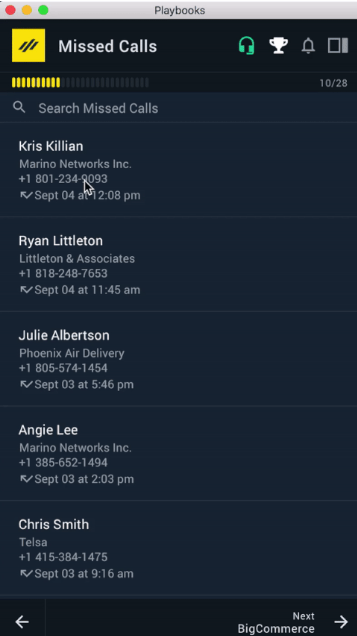
To Return a Missed Call
- Open Playbooks.
- Click the menu button (XANT logo).
- Click Missed Calls.
- Select the desired missed call.
- Click DIAL.
